
After having shown you in the first two parts of our Home Is Where Your Art Is series the types of picture formations that look best on your wall, today we will explain in detail some rules of thumb for hanging pictures which you should always bear in mind.
The most important rule first: as with all conceptual work, despite all the do’s and don’ts – at the end of the day, you decide what’s important to you. So let yourself be guided by rules of thumb and tips, but always listen to your gut more than anything else.
Stay on topic
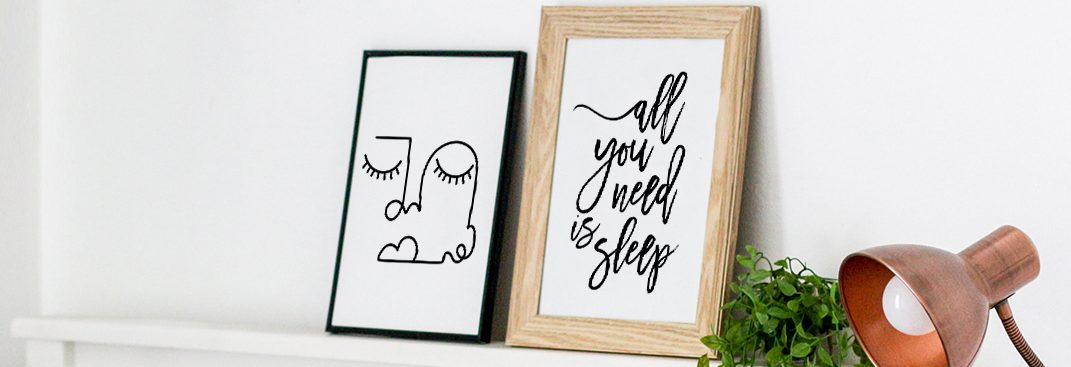
All You Need is Sleep by Vivid Atelier
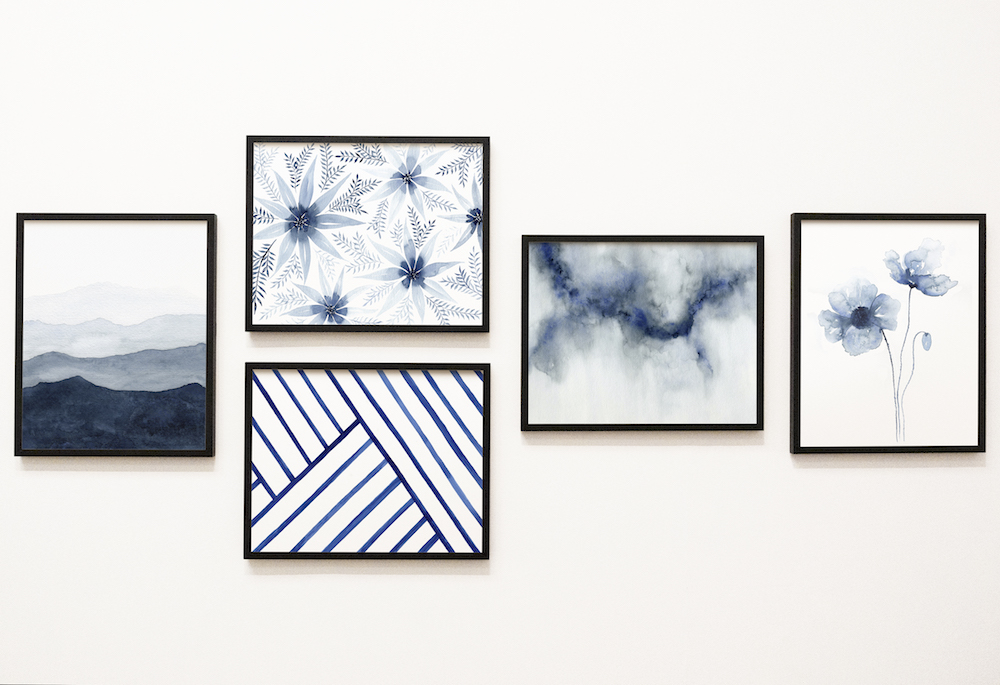
Which pictures you choose is entirely up to you, but an overall theme will likely make the final composition better. References between the pictures will also help you achieve harmony, whereby you may want to create contrasts through individual prints – this creates an interesting dialogue.
Possible topics are, for example, genres (such as landscape or abstract photography and illustrations), color schemes (or black and white photography), but also particular themes (water, the sky, people) interpreted in different ways. We’ve also listed tips on the topic of arranging by color for you.

Everything is relative
Yup, also when it comes to hanging pictures on the wall. Please pay attention to the proportions between the images on the one hand and your interior on the other.
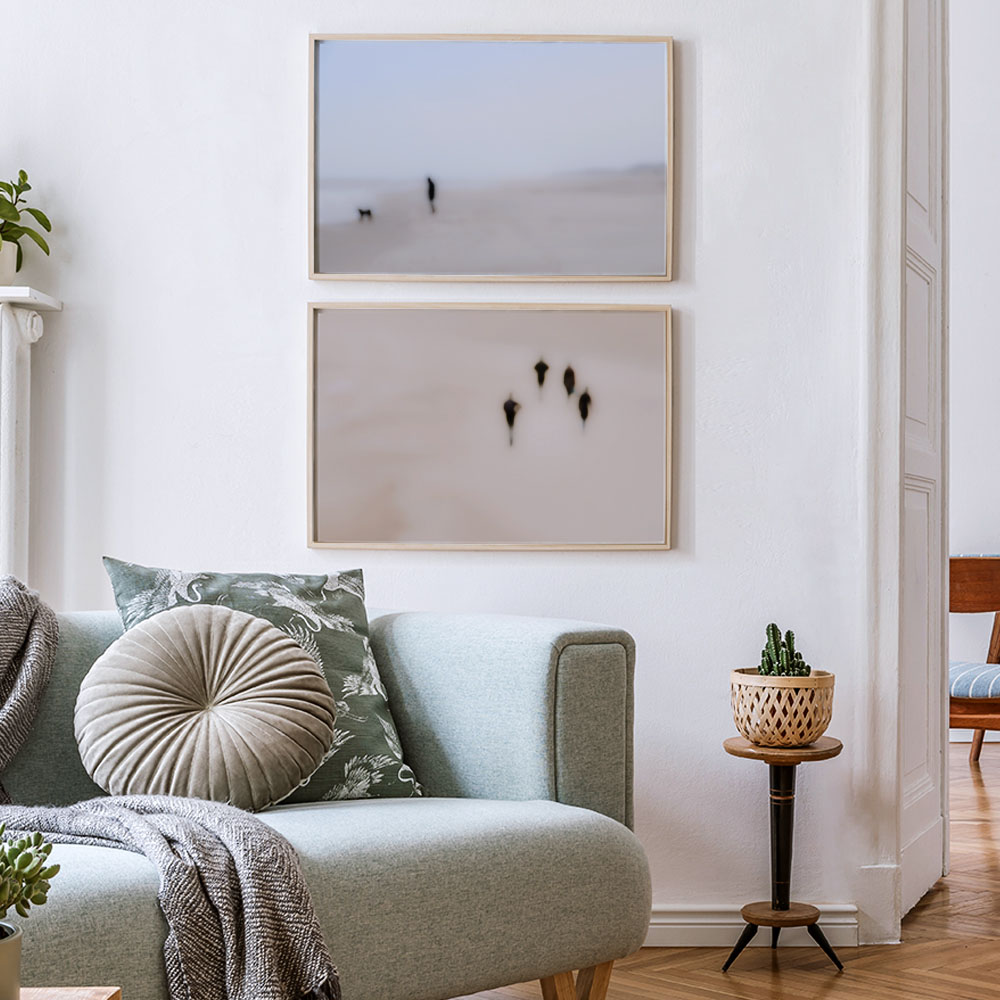
The width of a picture over a piece of furniture should not exceed two thirds to a maximum of three quarters of it, so that they work well together. Small-format prints, for example, look better near more filigree objects. Also, do not hang your pictures too close to or over the furniture (a distance of 20 to 30 cm is usually sufficient though).
If you don’t want to place your picture in the center of the wall, make sure to create a counterweight with a plant, lamp or another decorative accessory, so that there is no optical imbalance.
By the way: your images should of course not only go with the furniture, but should also match your walls, carpets, curtains, etc. in terms of color.
See things in a different light
Depending on the time of day, your pictures will have a different effect on the eye of the beholder. Due to the incidence of light or the surface of your artwork, there may be reflections for example, and colors as well as details also vary with changing light.
It’s best not to expose your images to “extreme” lighting conditions such as direct sunlight, but you should also avoid completely shady corners; even and indirect lighting will flatter your pictures. Spotlights (not too bright) are ideal, but “normal” lamps, cleverly placed in the room, can also have a beneficial effect on your artworks.
Stay at eye level with your prints
We have good news for you: you’re the measure of all things after all. At least when it comes to the positioning of your prints. Where / when and how do you normally look at your pictures, standing in the kitchen or sitting on the sofa?
Fortunately, there is also a rule of thumb for this: a pleasant effect is created when only a third of the image is above eye level, positioning the center of the image exactly at eye level is optimal (the average eye level is 1.60 m by the way). If you’re currently decorating the nursery though, it is of course important to take your kid’s smaller body size into account.
The whole is greater than the sum of its parts
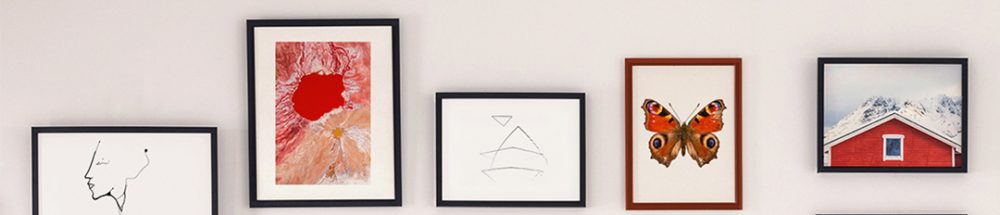
The arrangement of your pictures on the wall is a balancing act if you want to avoid a confusing mess on the one hand and sterility on the other. We’ve already put together different options for you here and here.
Interior design – not just for visionaries
Admittedly, a bit of imagination is required when designing the interiors of a room. However, in order to be able to better estimate the final effect of your prints on the wall in advance, you can also use a little trick.
If you’ve read our article about the Gallery Wall, you already know your options: you can either lay out the selected pictures on the floor or stick their counterparts in size (paper or cardboard cutouts) on the wall with adhesive tape. That doesn’t only save you work, but also keeps you from turning your walls into swiss cheese.
And once again: duct tape and cardboard are your friends
Finally, all that’s left to do is getting down to work. If you bought your framed posters, aluminium dibond, acrylic glass pictures or photo canvas at Photocircle, your prints are ready to hang.
Now two important questions arise: how much do your pictures weigh and what is your wall made of? For heavy pictures and / or cavity walls, drilling is the order of the day, dowels and screws are worthwhile here!
If you want to fix a picture with two nails or screws, you have to work very carefully so that everything does not get out of balance. A template is recommended in this case: instead of directly in the wall, you drill two holes (at the right distance) into a wooden strip. Then you can drill the first hole in the wall. With the help of a round piece of wood or dowel in that hole, you align the template on the wall to mark the second one. A spirit level, which you can place on top of the wooden strip, helps with alignment. You can also drill the second hole through the template.
If you’re certain your wall can take it, you can also hang a picture on one single nail. In order to do so, attach a strong nylon cord to the hangers on your picture, whose length slightly exceeds the width of the picture, so that it can sag a little. This will make balancing easier for you later.
Now you’re well equipped with useful tips for hanging images and we hope you will enjoy decorating your walls!
Katrin Strohmaier spends her days as a mouthpiece for Photocircle with a penchant for development, interior design and human rights. From there, she spreads the good news that you can make the world a little better simply by buying art.
* Pictures on the living room wall:
- Untitled BW289 by Michael William Benton
- Hot Stones by Bo Lundberg
- Bleeding planet by Felix Dorn
- Minimal Plant by Dan Hobday
- Woods 5Y by Mareike Böhmer
- Peace of nature by Holger Nimtz
- Creation by Uma Gokhale
- Rarity Cabinet Butterfly Peacock by Marielle Leenders
- Norwegisches Häuschen by Christian Schipflinger
- Sima by Ekaterina Koroleva
- Sol by Martin Azambuja
